Joyagoo Spreadsheet T-Shirts: My 2026 System for Sourcing Tees
T-shirts are the foundation of every wardrobe, and they’re also the category where I’ve placed the most orders by volume. When I was using Google Sheets, the t-shirt category was the worst offender for loading times — thousands of rows, heavy with image references, taking 30 to 40 seconds to render. The Best Joyagoo spreadsheet platform eliminated that bottleneck completely. Now I browse t-shirt listings through web pages that load instantly.
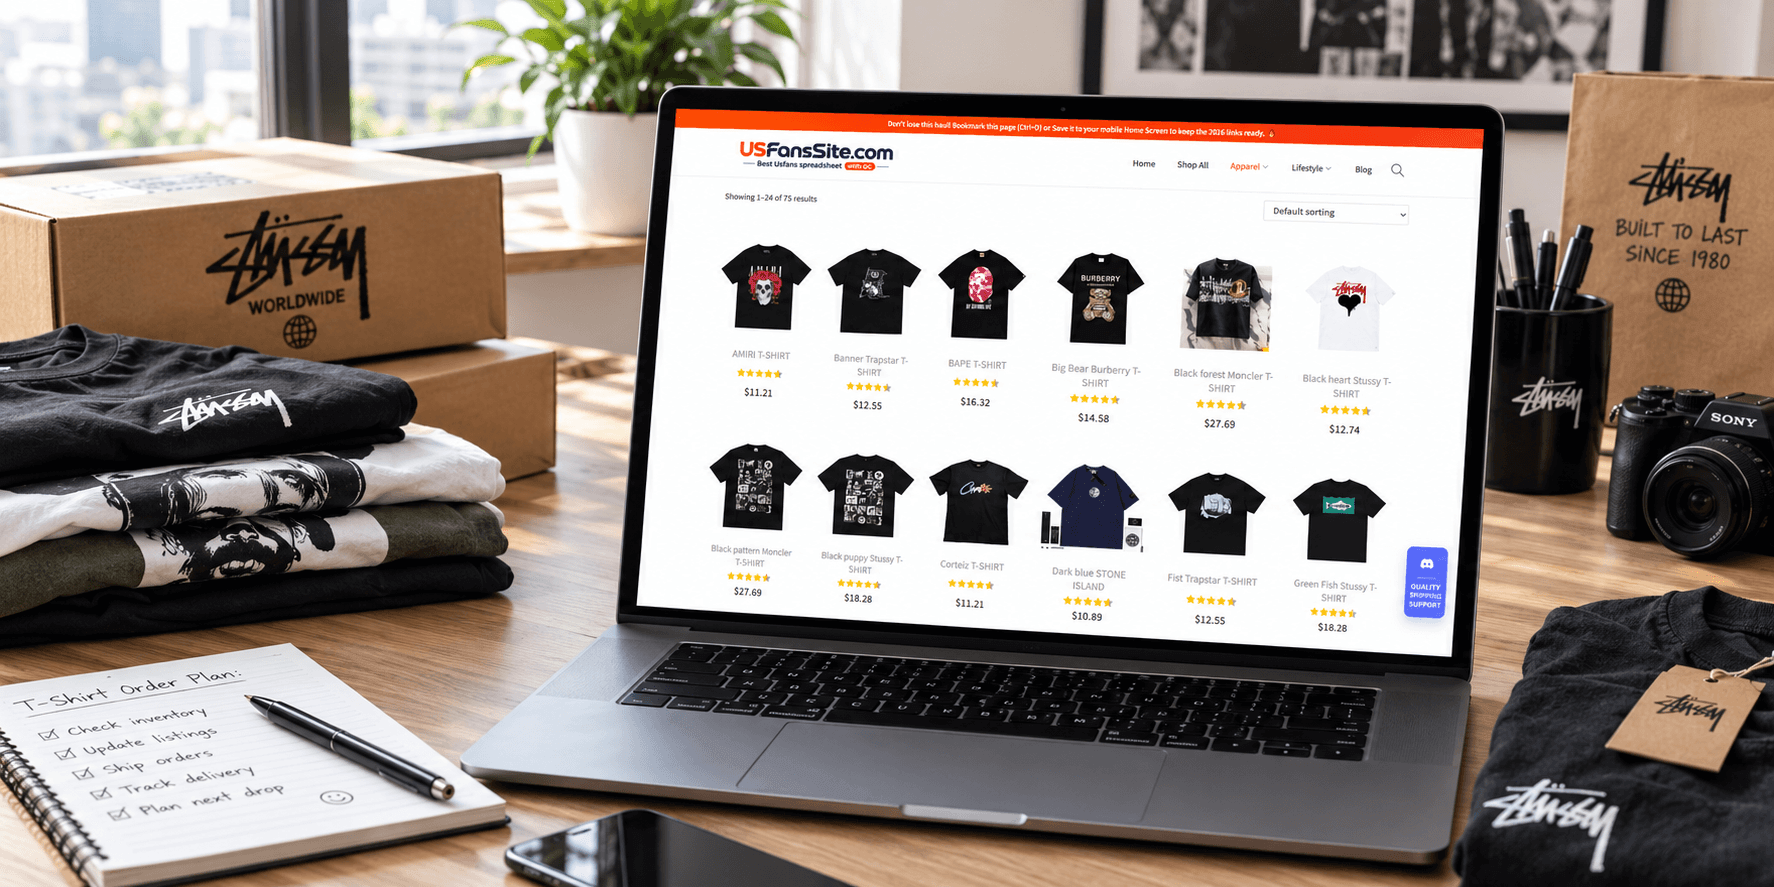
The Joyagoo spreadsheet T-Shirts category is the platform’s most active section. New listings appear daily, covering everything from plain basics to graphic prints, heavyweight streetwear to lightweight summer tees. Each listing shows the product, price, fabric details when available, and a direct link to the agent platform for ordering.
GSM: The Number That Defines a T-Shirt’s Entire Character
If there’s one thing to learn about t-shirt sourcing, it’s GSM (grams per square meter). This single number tells you more about a shirt’s quality, feel, and durability than any product description. Here’s the breakdown I use:
- 120–160 GSM: Lightweight, sheer, summer tees. Drapey and soft but prone to stretching out. Best for layering or hot weather.
- 160–200 GSM: Midweight, standard everyday tees. The most versatile range. Good structure, comfortable, reasonably durable.
- 200–240 GSM: Heavyweight, substantial tees. Hold their shape, resist wrinkling, feel premium. Excellent for standalone wear and for print durability.
- 240+ GSM: Ultra-heavyweight, streetwear-grade. Dense, structured, almost jacket-like. These are the shirts that last for years.
I always check the listing for GSM. If it’s not listed, I message the seller — and if they can’t tell me the GSM, I’m cautious, because it suggests they’re not deeply familiar with their own product.
Print Quality: How to Predict Whether a Graphic Will Survive Washing
For graphic tees, the print is everything. A great shirt with a cracking, peeling print is unwearable. Here’s my QC process for printed t-shirts:
Identify the print method. The three main methods are screen printing, DTG (direct-to-garment), and heat transfer/vinyl. Screen prints feel slightly raised and have a subtle texture — they’re the most durable, often surviving 50+ washes. DTG prints feel flush with the fabric and allow full-color designs — they’re good quality but can fade faster than screen prints. Heat transfer prints have a smooth, slightly rubbery feel and are the least durable — they crack and peel within 10–20 washes.
Check print edges in QC photos. I zoom into the edges of the design. Clean, sharp edges indicate quality application. Fuzzy or bleeding edges suggest poor print setup. For screen prints, I check for ink coverage consistency — thin spots will crack first.
Look for print cracking before shipping. In the QC photo, I examine the print closely for any micro-cracks, especially if the shirt was folded for the photo. If the print is already cracking in the QC photo, reject it immediately — it will only get worse.
Check print placement and alignment. The design should be centered and level. For chest prints, the bottom of the design should sit roughly 5–7cm below the collar. For full-back prints, the design should be centered between the shoulder seams. Misaligned prints are a production quality signal.
Verify fabric color accuracy. The shirt color in the QC photo should match the listing. I’ve received shirts where the fabric was a completely different shade than the listing photo showed — usually because the listing used a stock image rather than an actual product photo.
Collar and Construction: The Details That Separate Premium from Cheap
A t-shirt’s lifespan is largely determined by collar quality and construction details that most buyers overlook:
Collar elasticity and shape retention. The collar (ribbed neckline) should be firm and snap back when stretched. In the QC photo, I look at whether the collar lies flat or appears wavy. A wavy collar has already lost its elasticity and will sag after a few washes. The collar should also be the same width all the way around — uneven width indicates poor construction.
Shoulder seam position. The shoulder seams should sit at the top of the shoulder, not sliding down the arm. Seams that sit too low make the shirt look oversized and sloppy.
Side seam straightness. For side-seamed tees, the seams should run straight from armpit to hem. Curved or wavy side seams indicate the fabric was cut or sewn off-grain, which causes the shirt to twist after washing.
Hem stitching. The bottom hem should be evenly stitched with consistent tension. Loose hem stitching will unravel, and tight hem stitching creates puckering that’s visible when worn.
Sleeve opening consistency. Both sleeves should be the same width and length. I compare them in the QC photo — asymmetrical sleeves are a manufacturing defect.
Shrinkage and How I Account for It
100% cotton t-shirts shrink — there’s no way around it. The amount depends on fabric weight and whether the cotton was pre-shrunk:
Lightweight cotton (120–160 GSM) shrinks the most — up to 5% in length. Heavyweight cotton (200+ GSM) shrinks less, typically 2–3%, because the denser fabric is more dimensionally stable. Pre-shrunk cotton shrinks 1–2% regardless of weight.
My strategy: for 100% cotton tees that aren’t listed as pre-shrunk, I size up. For blended fabrics (cotton-poly), I order my normal size. And I always wash new tees in cold water and hang dry for the first three washes to minimize shrinkage and preserve print quality.
Shipping T-Shirts: The Most Efficient Category
T-shirts are the lightest and most compressible clothing item. A typical tee weighs 150–250 grams and can be vacuum-compressed to nearly nothing. This makes t-shirts the ideal category for bulk ordering and consolidation.
I regularly order 8–10 t-shirts at once and ship them in a single package. With vacuum compression, 10 t-shirts can weigh under 2kg and take up less volume than a single jacket. The per-item shipping cost drops to $1–2, making bulk t-shirt sourcing extremely cost-effective.
The only caution: don’t vacuum-compress printed tees too tightly. Extreme compression can cause heat transfer prints to crack along fold lines. I ask the warehouse to place tissue paper between printed layers and use moderate compression rather than full vacuum.
FAQ
Q: What is the safest first order size?
A: One midweight plain tee (180 GSM) in your normal size. This tests the entire ordering, QC, and shipping flow for under $10. Plain tees are the simplest QC — you’re only checking fabric, collar, and construction, without the added variable of print quality. Once you’ve confirmed sizing and quality, expand into graphic tees and different weights.
Q: How do I search for items on the platform?
A: I search by style keyword — “oversized,” “heavyweight,” “graphic,” “plain.” The web search is instant and supports partial matches. I also use the sort-by-newest feature to catch fresh listings, which is especially useful for limited graphic drops that sell out quickly.
Q: What are the advantages compared with a traditional Google Spreadsheet?
A: Beyond loading speed, the key advantage is standardized listing format. In Google Sheets, every seller formatted their listings differently — some included GSM, some didn’t, some had images embedded, some had links. The web platform normalizes all of this into a consistent format, making comparison between sellers fast and reliable.
Q: Are there hidden fees at ship-out?
A: The main fee to watch for is the repackaging service charge if you request vacuum compression or special packaging. It’s usually small ($1–3) but worth confirming before ship-out. For standard packaging, there’s no additional fee. The shipping cost shown at checkout includes all standard handling — I’ve never encountered surprise charges beyond what’s displayed.